


Hello guys, how are you all doing? Today, we are going to build a greeter Dapp using ChainIDE, Reactjs, Solidity and truffle.
🧐 So, What is ChainIDE ?
ChainIDE is a cloud-based integrated development environment (IDE) for building applications for Ethereum, BNB Chain, Polygon, Conflux, Nervos, Dfinity, Flow, Chain33, Fisco Bcos, and a host of other chains. It has an interactive, easy-to-use environment and ready-to-use plugins that shorten development time and costs. It fastens the development cycle and has pre-installed plugins that save users' time and effort. ChainIDE is the world's most commonly used IDE due to its interactive interface and easy-to-use attributes among other attributes that have attracted developers, practitioners, and researchers from all around the world. It provides a complete and ready-to-use environment for smart contract development as well as provides detailed documentation for learning purposes. ChainIDE is a powerful open-source cloud-based IDE that helps you write smart contracts in different programming languages and for different blockchains. It has modules for writing, compiling, debugging, testing, deploying a smart contract, and much more. Learn more about ChainIDE
🏁 Getting Started
In developing this program, we are going to learn how to use the tools provided by ChainIDE for creating and testing our application. We will also begin to explore the Sol‐ idity language, including a look at functions and state variables.
Our goal for this DApp is to find a rhythm in how we go about building our application and discovering if we are on the right track. To help us get there, we will adopt test-driven development (TDD) for that instant feedback loop.
Let start by setting up our project.
⚙ Setup
First visit ChainIDE official website and click on the blockchain you want to develop this DApp on.
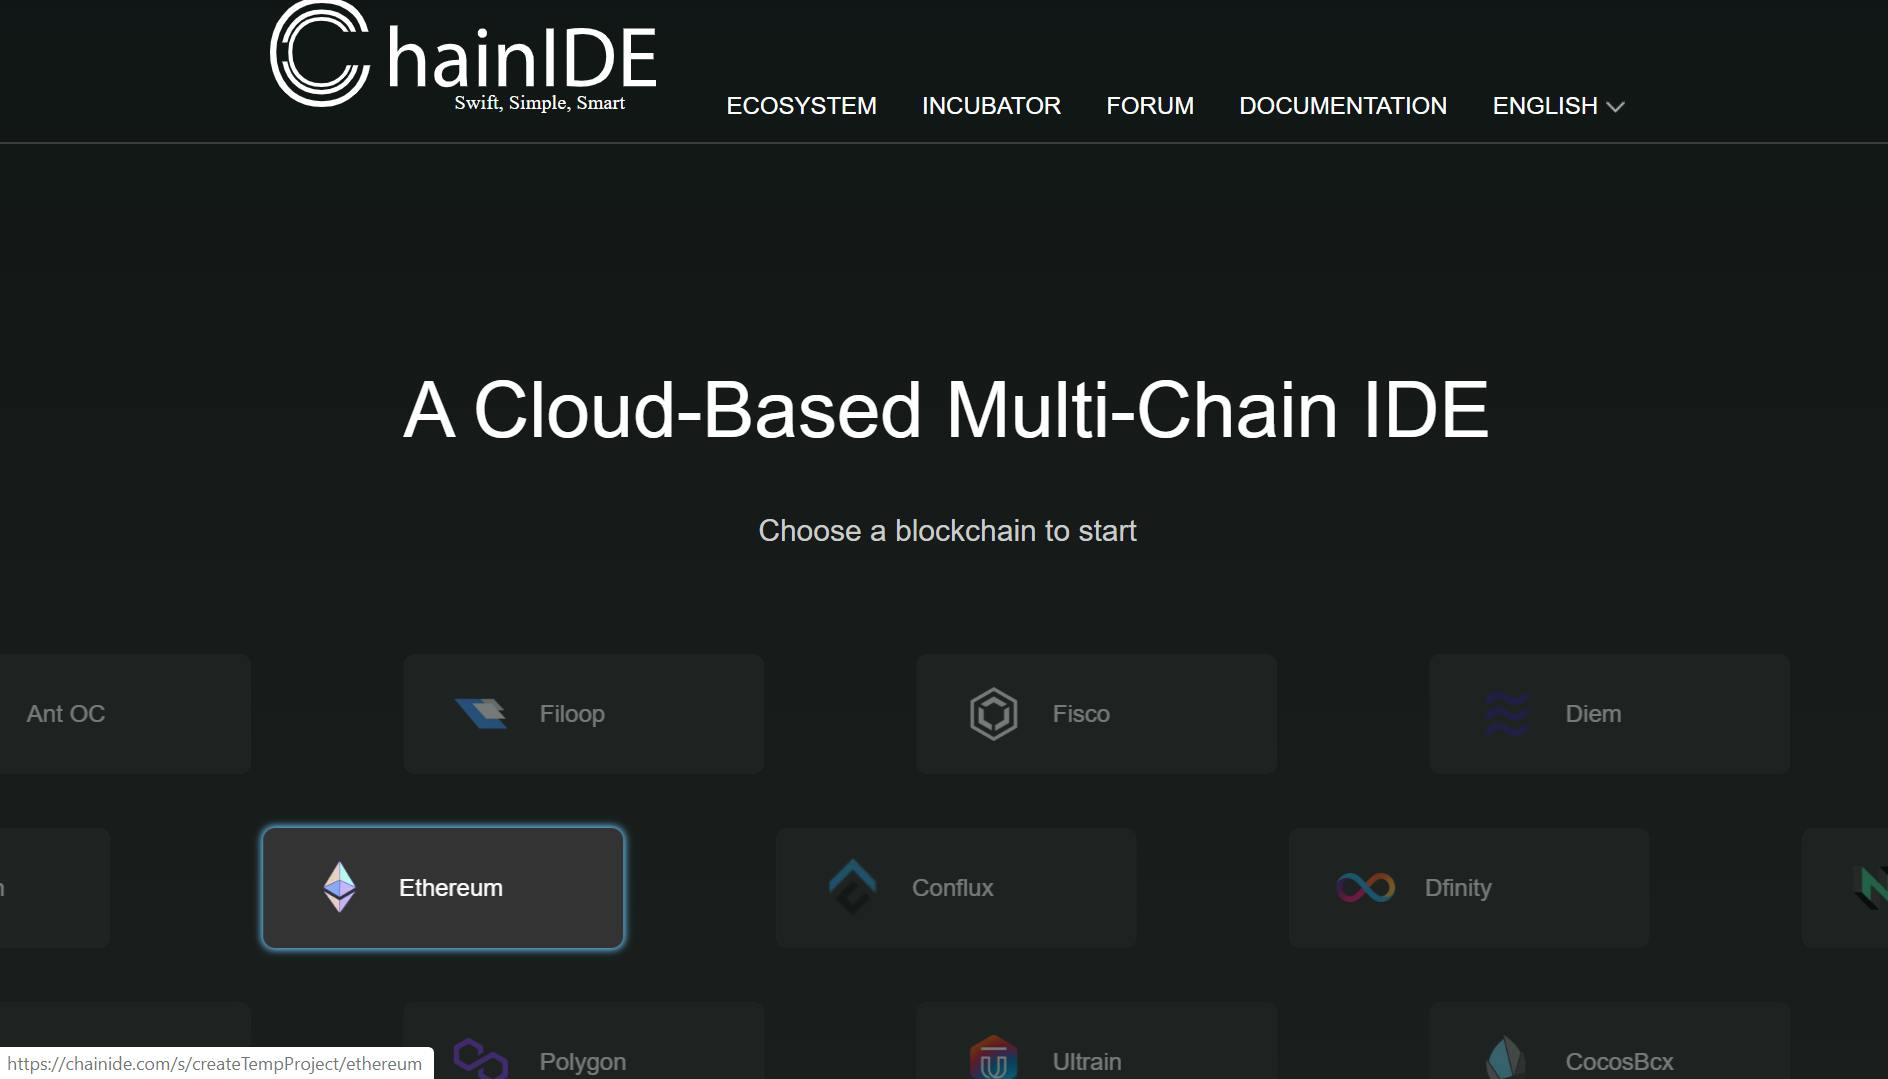
We will be developing this DApp on Ethereum. Click on Ethereum, and that will take you to the Sign-in page where you can choose to sign in with your Github account or as a Guest. That is totally up to you.
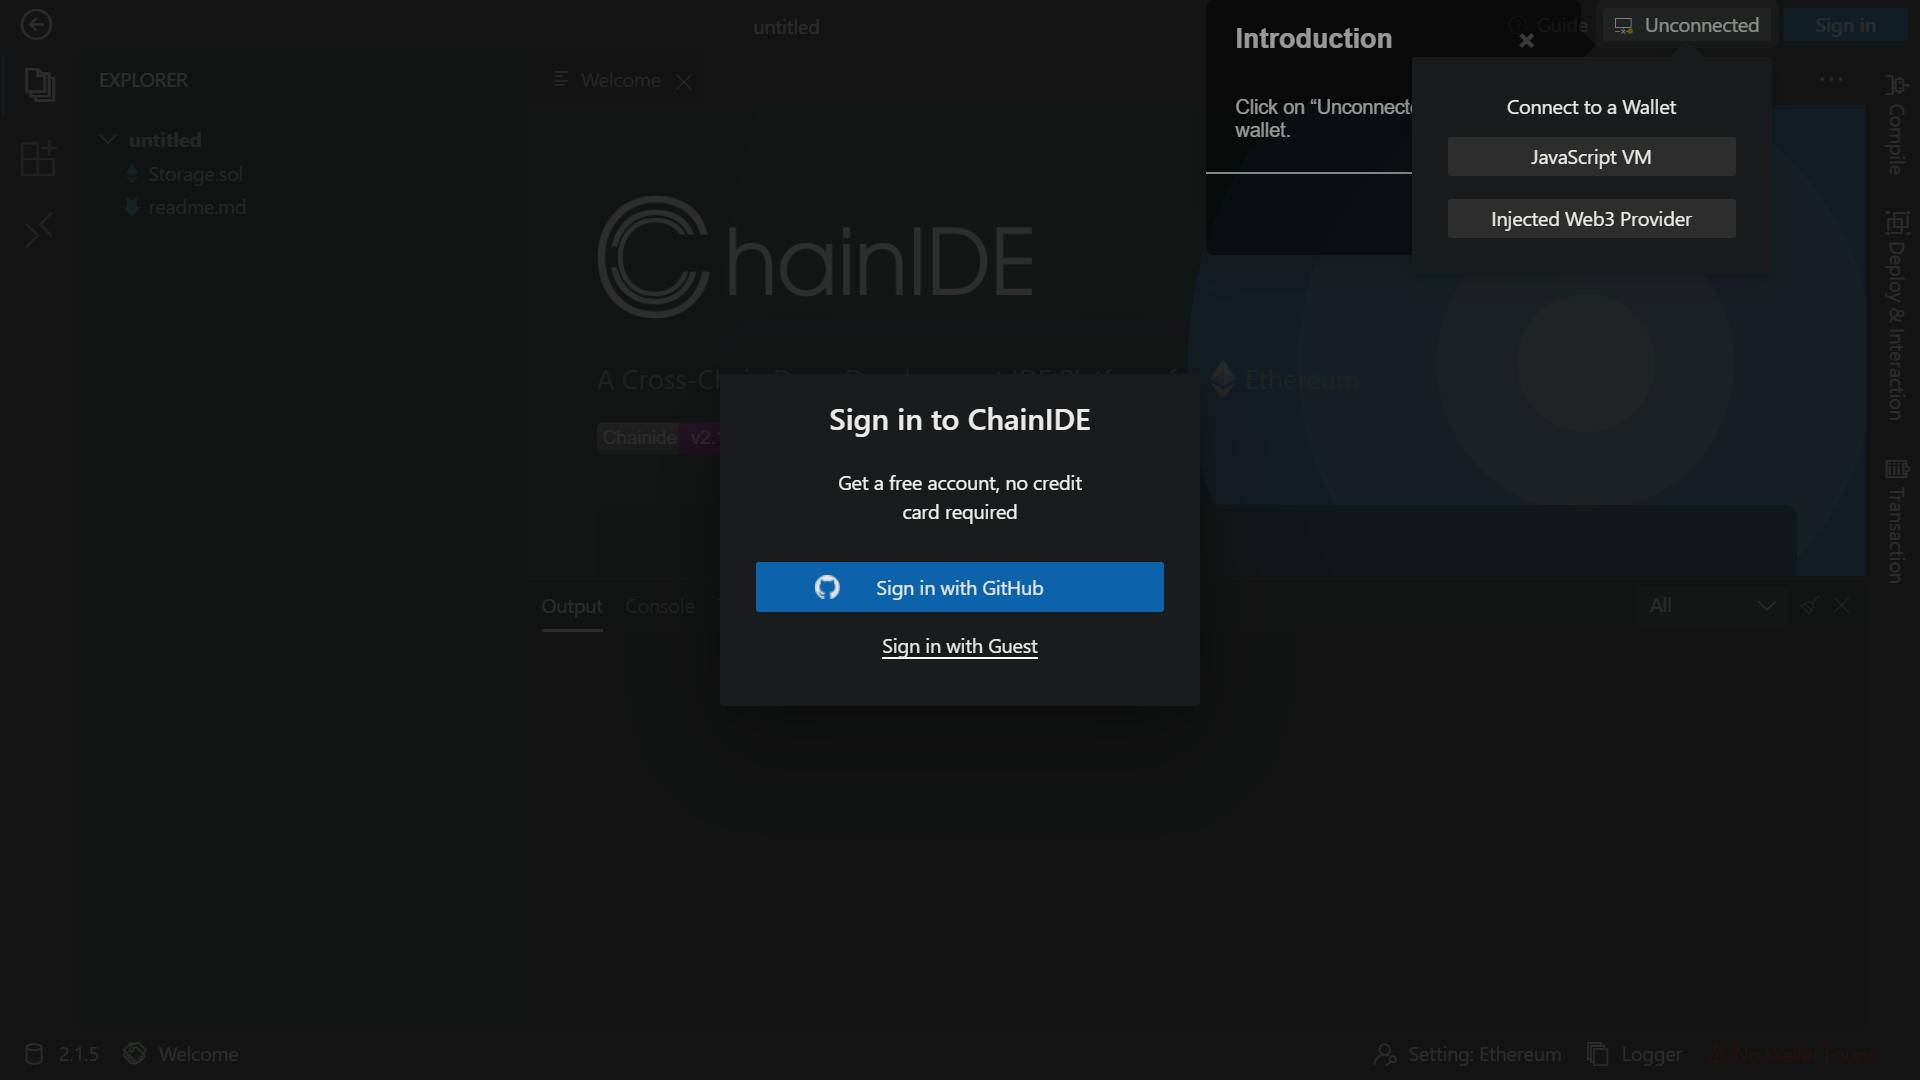
After Signing in, You will need to connect your wallet. Connect your wallet with either Javascript Vm or Injected web3 Provider such as Metamask or Wallet connect.
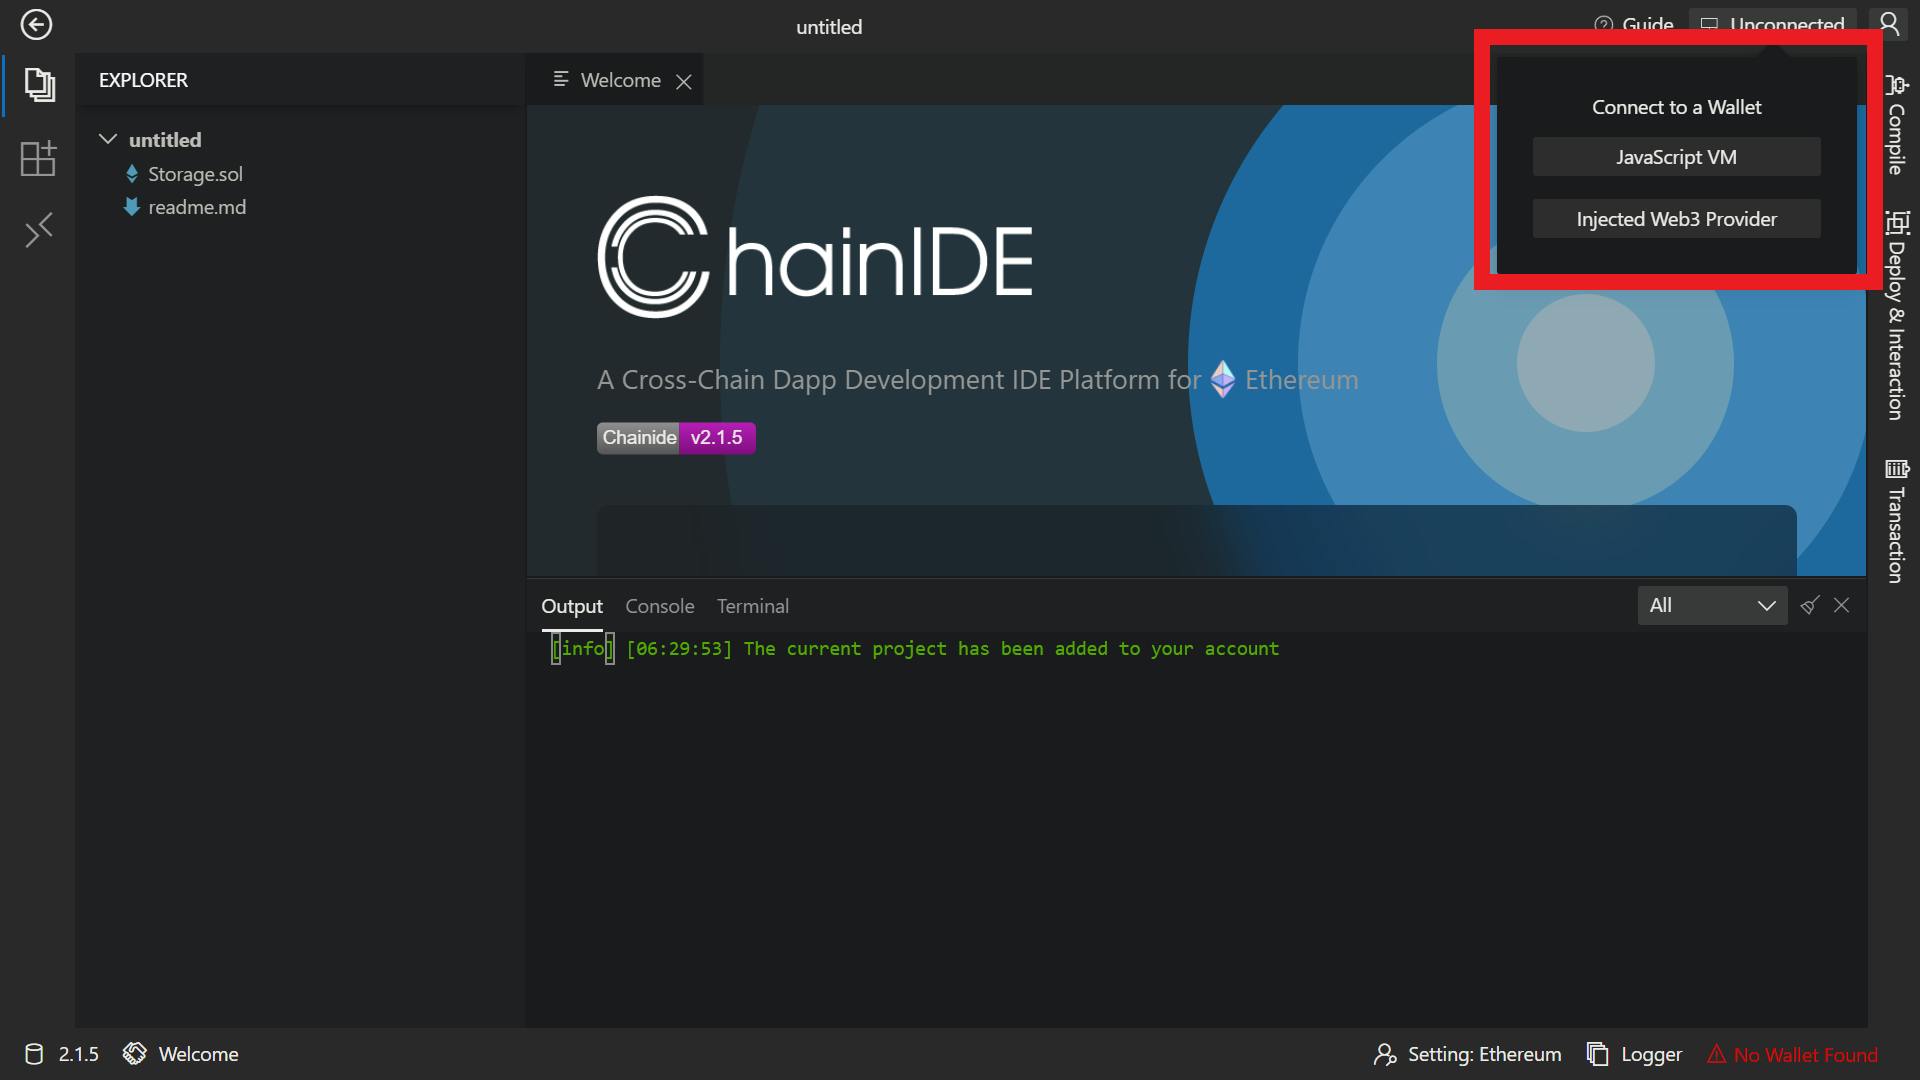
I will choose Injected Web3 Provider because I have Metamask installed on my browser. Make sure you have Metamask installed on your browser, If you want to use Metamask like me.
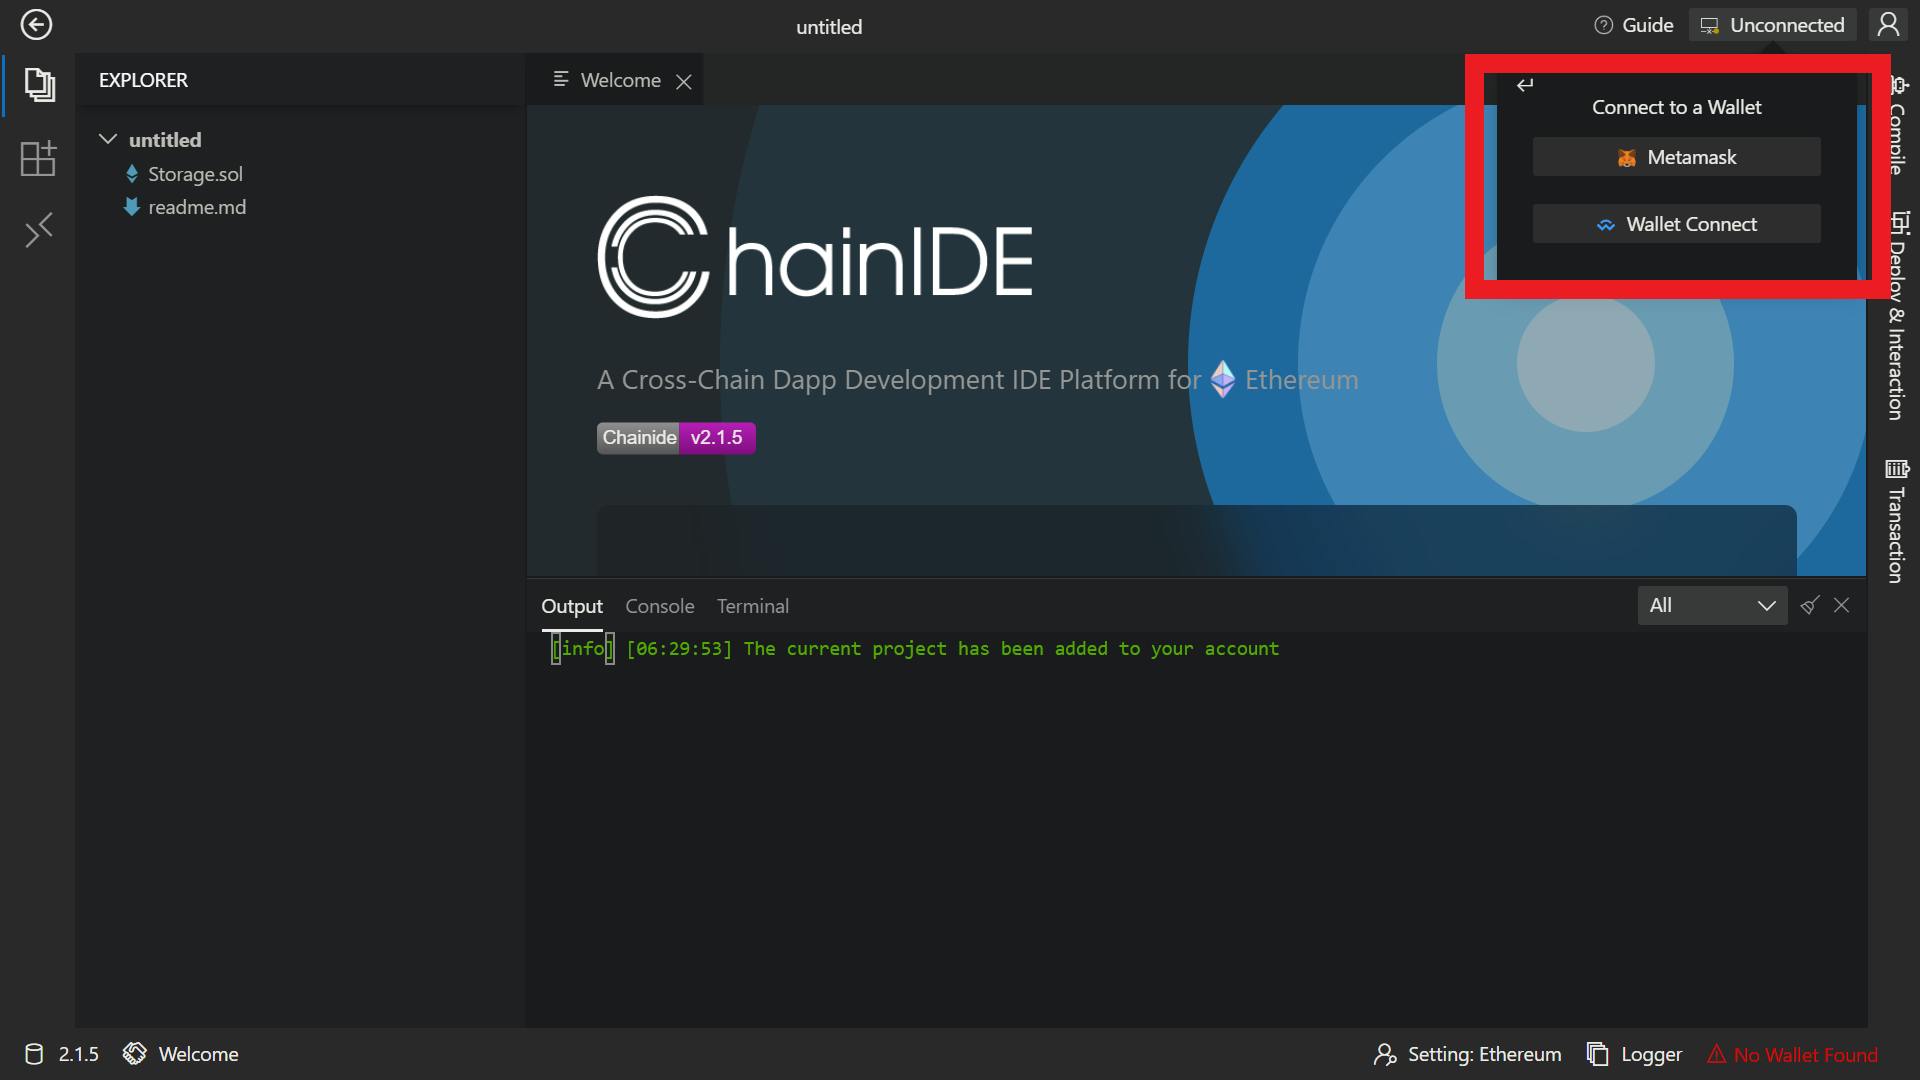
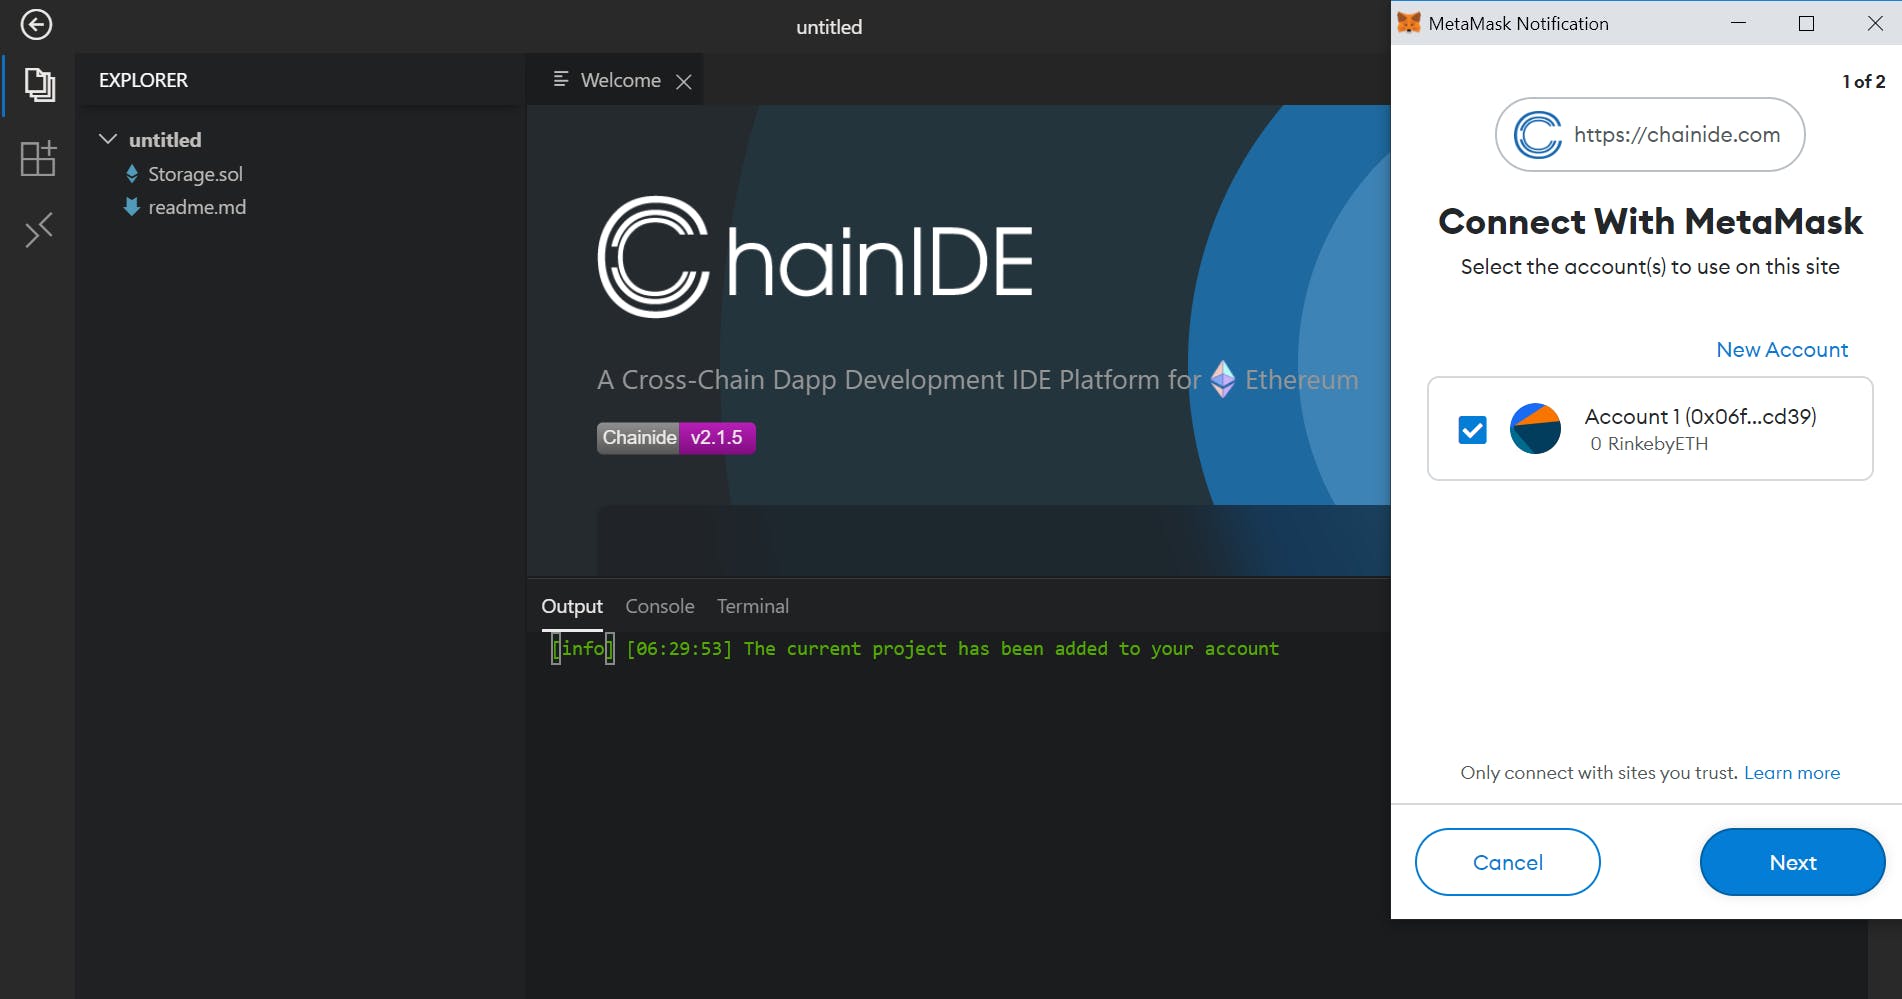
Click on Metamask, then your Metamask will pop up for you to Authenticate your wallet with ChainIDE.
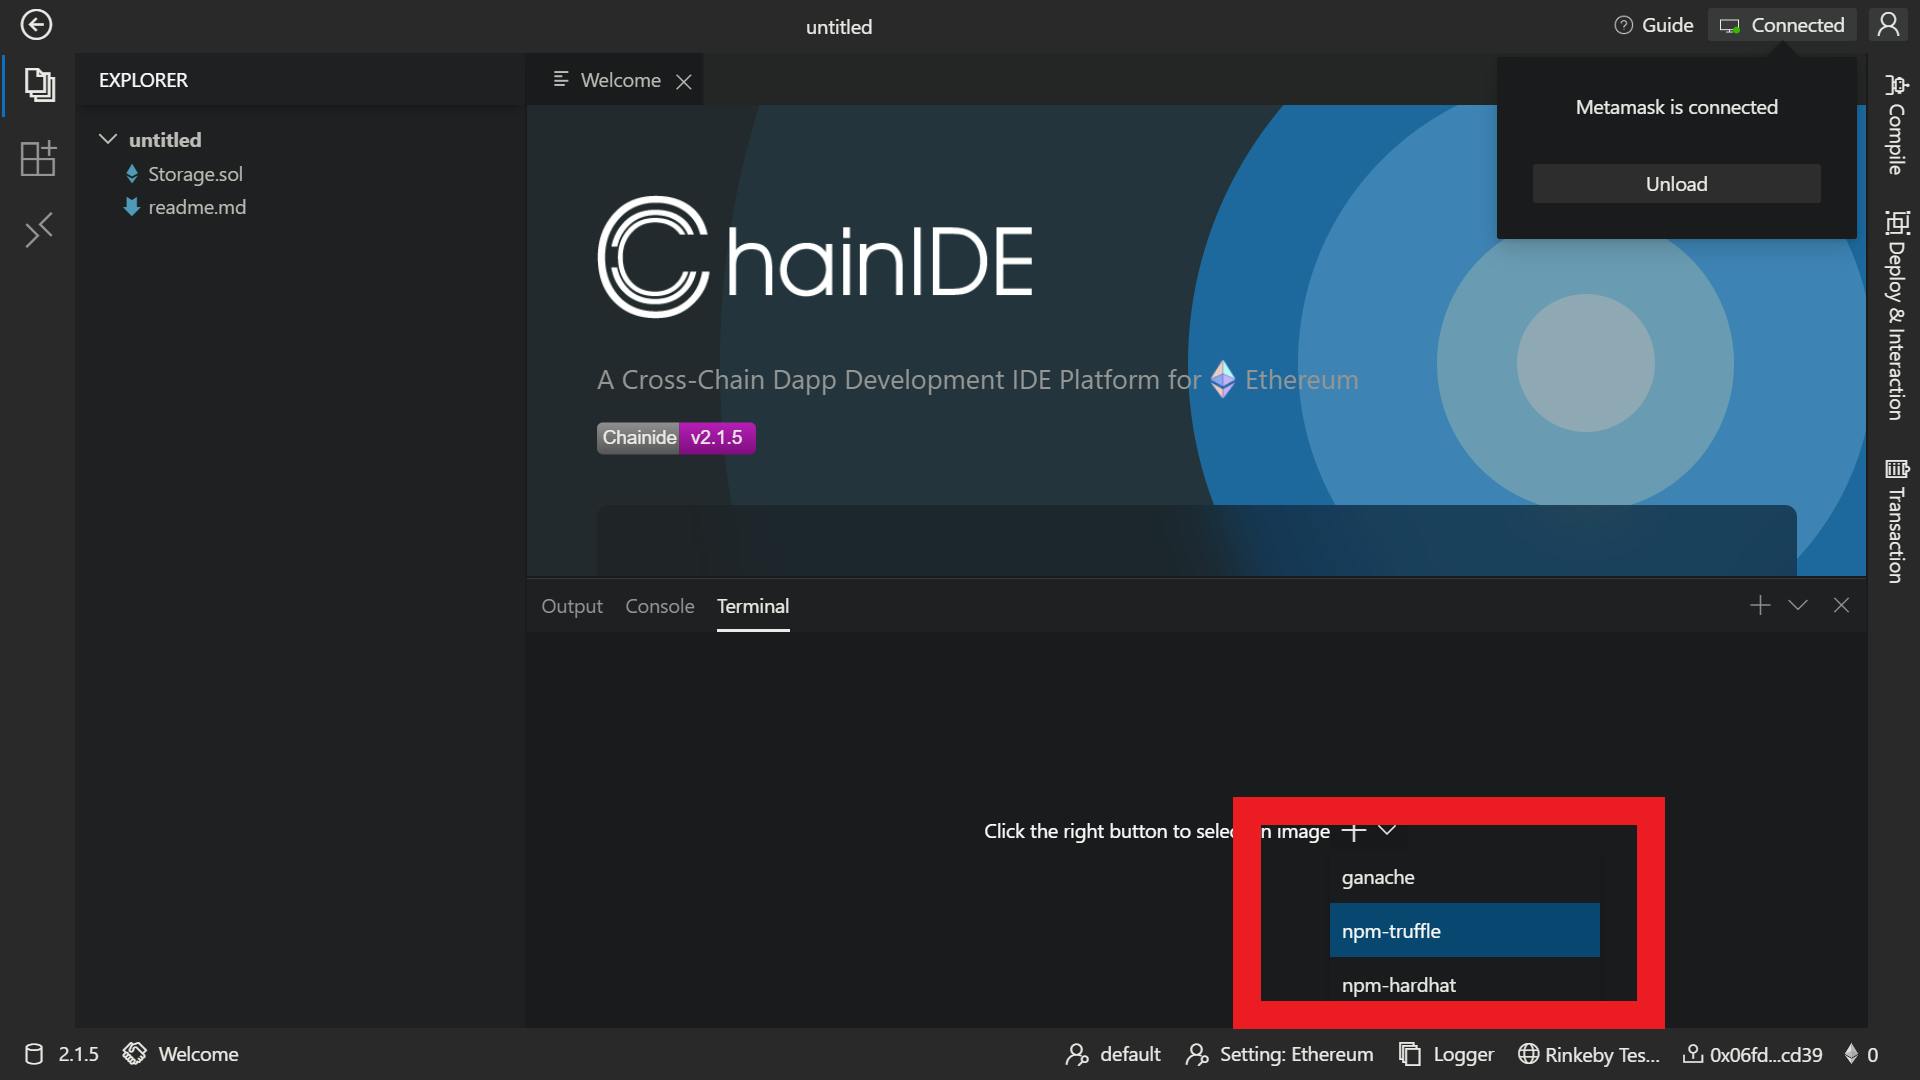
Open the terminal and click on the plus icon to select your development environment.

Then choose npm-truffle because we are going to use truffle to develop this DApp.
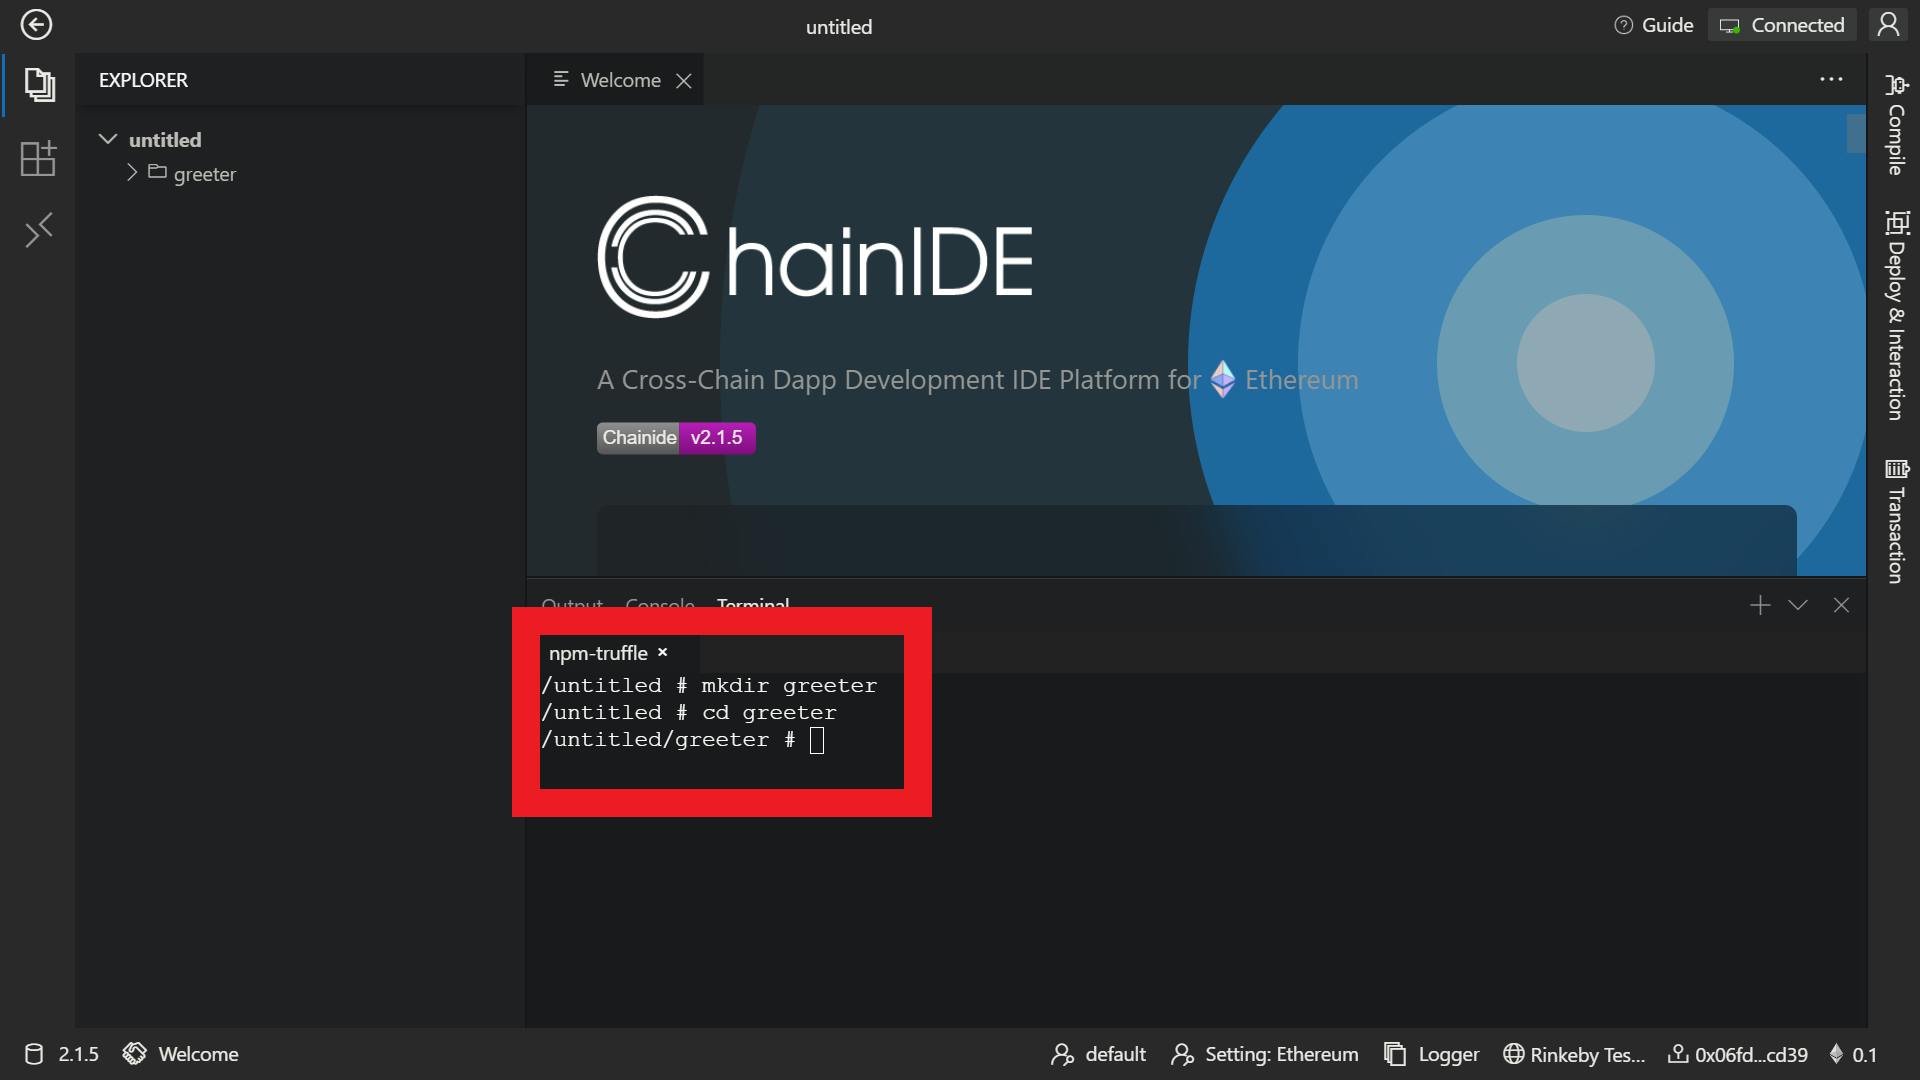
As we get set up, we will need a directory to hold our new application. Let’s first create a directory called greeter and change into our new directory. Use the following commands in the terminal:
$ mkdir greeter$ cd greeter
We are now going to initialize a new Truffle project as follows:
$ truffle init
This command will generate the following output:
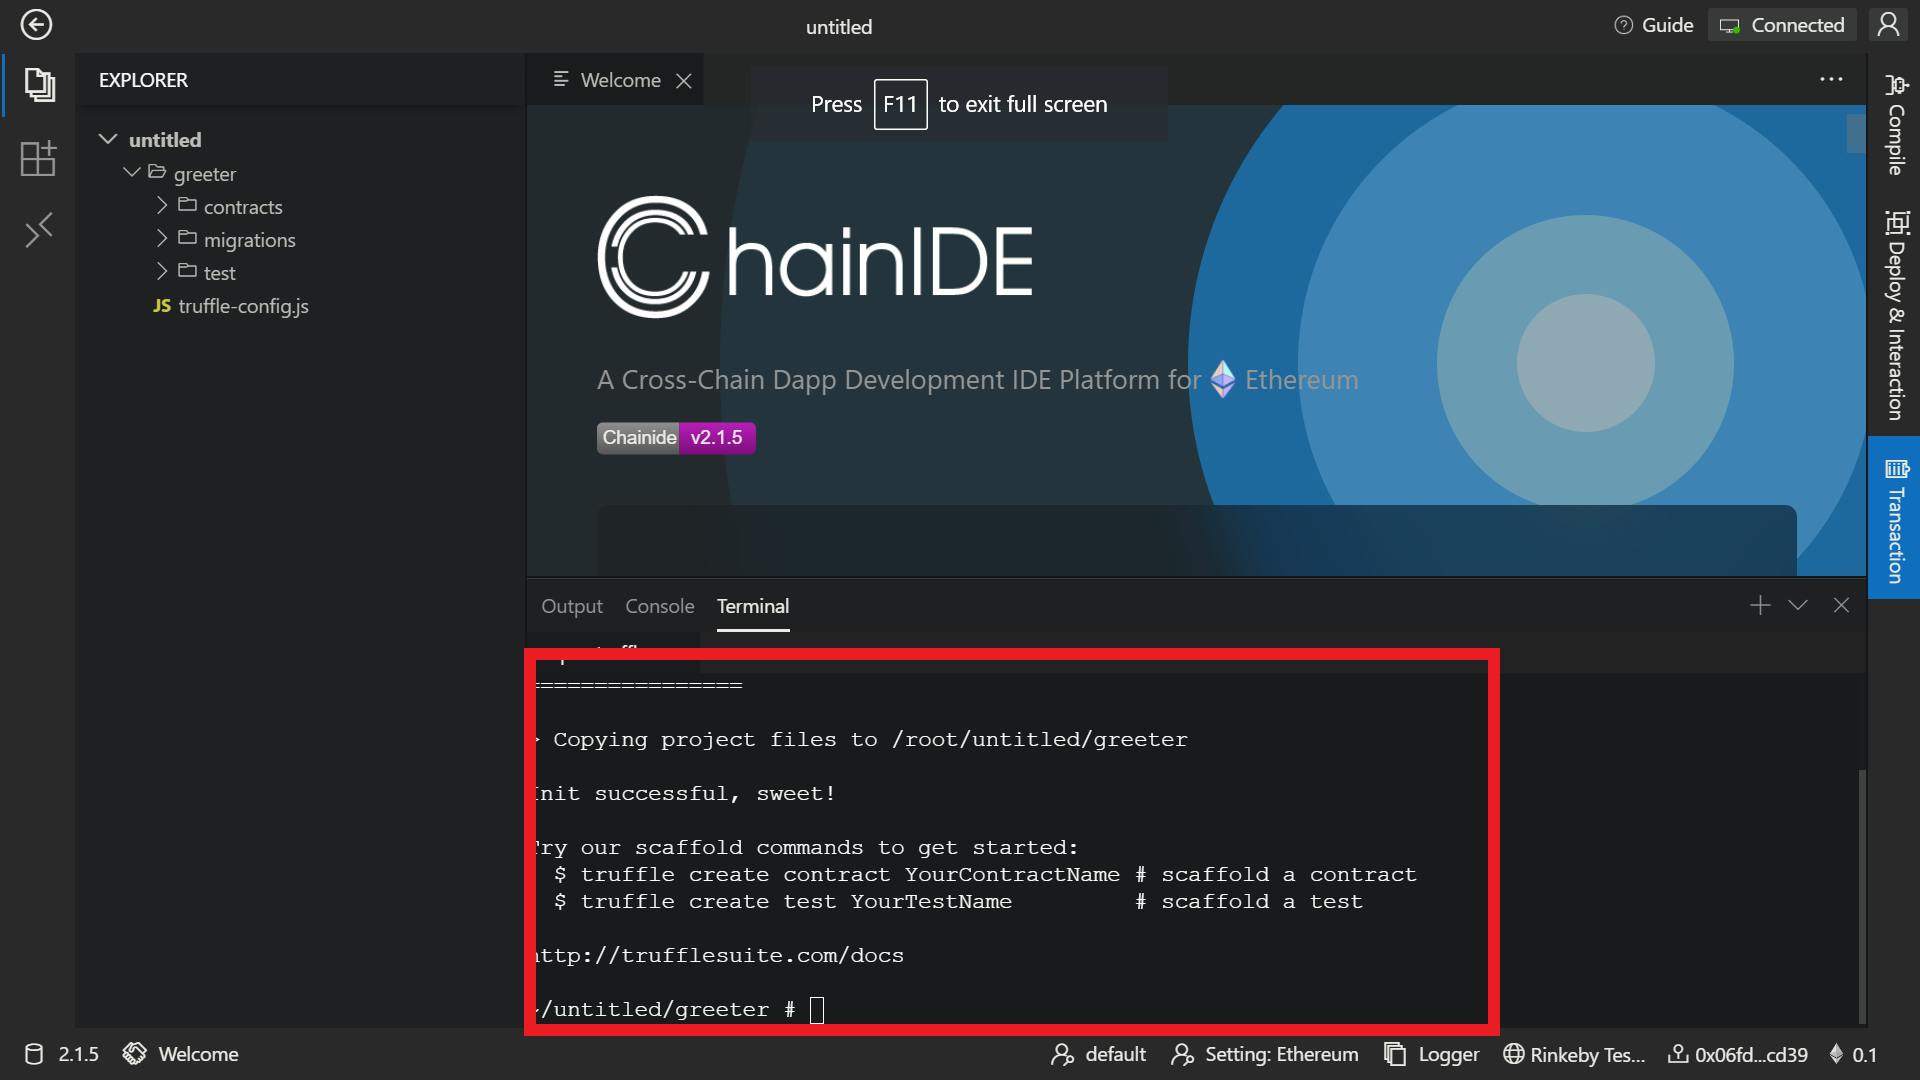
Our greeter directory should now include the following files:
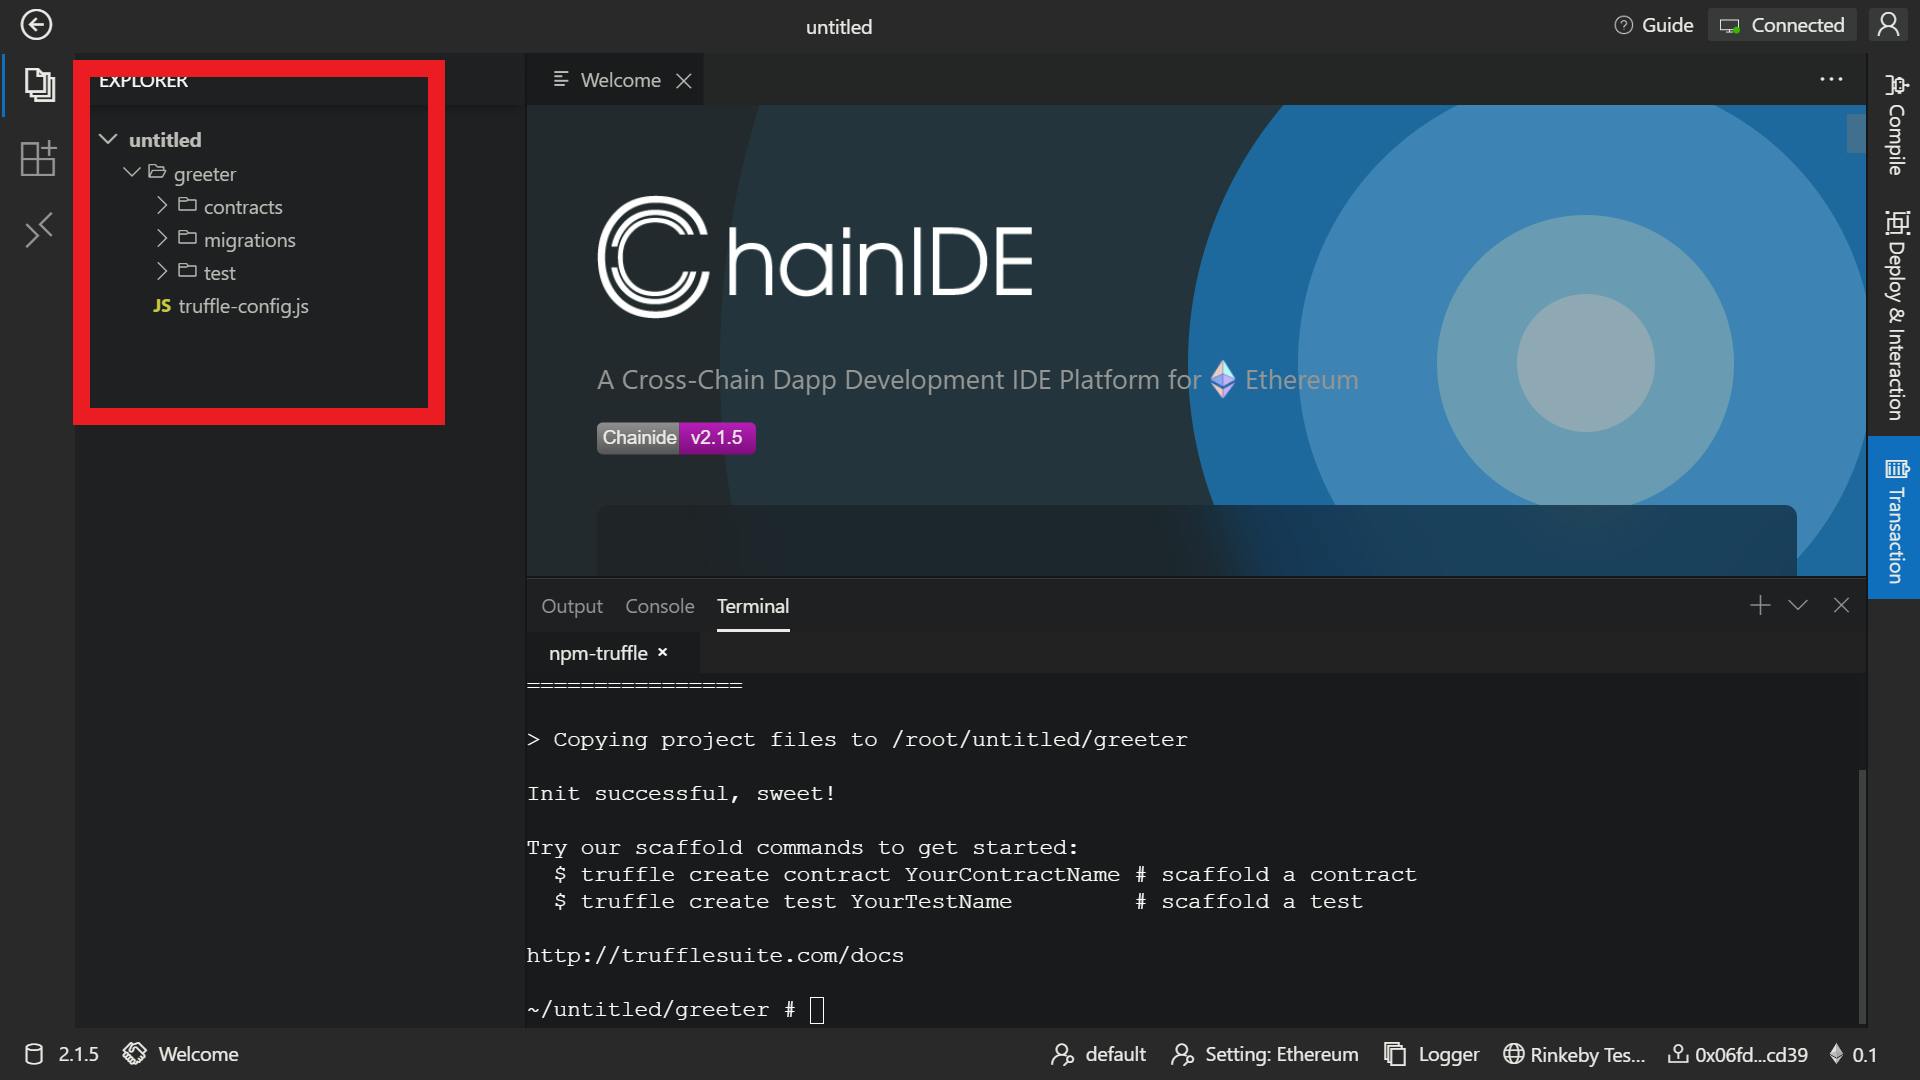
Notice that the commands specified in the output corresponds with the directory structure generated when initializing our application. truffle compile will compile all the contracts in the contracts directory, truffle migrate will deploy our compiled contracts by running the scripts in our migrations directory, and lastly, truffle test will run the tests in our test directory. The last item created for you is the truffle-config.js file. This is where we will place our application-specific configurations.
Now that we have our initial structure, we are ready to begin development.
🛠Our First Test
As we implement features for our contracts, we will use TDD to take advantage of the short feedback loop it provides. If you are not familiar with TDD, it is a way of writing software where we first start with a failing test and then write the code required to make the test pass. Once everything is working, we can then refactor the code to make it more maintainable.
The test support Truffle provides is one of the areas where the toolbelt truly shines. It offers testing support in both JavaScript and Solidity; for our examples, we’ll use Java‐ Script since it is far more widely adopted, which makes it easier to find additional resources should you get stuck. If you would like to explore writing tests in Solidity, you can reference the Truffle testing documentation.
Our first test is going to make sure our empty contract can deploy properly. This may seem unnecessary, but the errors we will experience in getting this to pass provide a great way to see some of the errors we are likely to encounter in our career.
In the test directory, create a file called greeter_test.js:
$ touch test/greeter_test.js
Then add the test code below.
const GreeterContract = artifacts.require("Greeter");    //1

 contract("Greeter", () => {                  //2
   it("has been deployed successfully", async () => {     //3
     const greeter = await GreeterContract.deployed();
     assert(greeter, "contract was not deployed");       //4
  });
});
- Truffle provides a way to load and interact with contracts that have been com‐ piled through the artifacts.require function. Here, you will pass in the name of the contract, not the name of the file since a file may contain multiple contract declarations.
Truffle tests use Mocha, but with a twist. The contract function will act similar to the built-in describe but with the added benefit of using Truffle’s clean room feature. This feature means that fresh contracts will be deployed before the tests nested within are executed. This helps prevent state from being shared between different test groups.
Every interaction with the blockchain is going to be asynchronous, so instead of using Promises and the Promise.prototype.then method, we will take advan‐ tage of the async/await syntax now available in JavaScript.
If the greeter is truthy (exists), our test will pass.
Running our tests, we will receive an error that looks like this:
$ truffle test
Compiling your contracts...
===========================
> Compiling ./contracts/Migrations.sol
Error: Could not find artifacts for Greeter from any sources
at Resolver.require (/usr/local/lib/node_modules/truffle/build/webpack:...
at TestResolver.require (/usr/local/lib/node_modules/truffle/build/...
at Object.require (/usr/local/lib/node_modules/truffle/build/webpack:...

Truffle v5.0.31 (core: 5.0.31)
Node v16.13.0
This gives us actionable feedback. The error tells us that after our contracts compiled, Truffle could not find one called Greeter. Since we have not created this contract yet, this error is perfectly reasonable. However, if you have already created a contract and are still getting this error, it is likely caused by a typo in the contract declarationfound in the Solidity file or in the artifacts.require statement. Let’s create the Greeter file and add some code to see what feedback running our test suite will provide.
In the terminal, create the Greeter file:
$ touch contracts/Greeter.sol
Add the following code into the Greeter.sol file you just create.
pragma solidity >= 0.4.0 < 0.7.0; //1

contract Greeter {    //2
}
The pragma line is a compiler instruction. Here we tell the Solidity compiler that our code is compatible with Solidity version 0.4.0 up to, but not including, version 0.7.0.
The contracts in Solidity are very similar to classes in object-oriented program‐ ming languages. The data and functions or methods defined within the contract’s opening and closing curly braces will be isolated to that contract.
With these changes made, let’s run our tests again:
$ truffle test
The output
Compiling your contracts...
===========================
> Compiling ./contracts/Greeter.sol
> Compiling ./contracts/Migrations.sol

Contract: Greeter
1) has been deployed successfully
> No events were emitted
0 passing (34ms)
1 failing


1) Contract: Greeter
has been deployed successfully:
Error: Greeter has not been deployed to detected network...
at Object.checkNetworkArtifactMatch (/usr/local/lib/node_modules/...
at Function.deployed (/usr/local/lib/node_modules/truffle/build/...
at processTicksAndRejections (internal/process/task_queues.js:85:5)
at Context.<anonymous> (test/greeter_test.js:5:21)
The error here indicates that our contract does not yet exist on the network; in other words, it has not yet been deployed. Every time we run the truffle test command, Truffle first compiles our contracts, and then deploys them to a test network. In order to deploy our contract, we need to turn to another tool provided by the Truffle toolbelt: migrations.
Migrations are scripts written in JavaScript that are used to automate the deployment of our contracts. The default Migrations contract found in contracts/Migrations.sol is the contract that is deployed by migrations/1_initial_migration.js and is currently the only contract that has made its way to the test network. In order to add our Greeter contract to the network, we will need to create a migration using the code below.
First, we will need to create the file to hold our migrations code:
$ touch migrations/2_deploy_greeter.js
Then we can add the code below into the2_deploy_greeter.js file we just created
const GreeterContract = artifacts.require("Greeter");

module.exports = function(deployer) {
   deployer.deploy(GreeterContract);
}
Our initial migration does not have much going on. We use the provided deployer object to deploy the Greeter contract. For now, this is all we’ll need to do in order to have our contract available on the local test network, but don’t worry: we will go deeper into migrations in the next chapter. With that in place, run the tests one more time:
$ truffle test
The output
Compiling your contracts...
===========================
> Compiling ./contracts/Greeter.sol
> Compiling ./contracts/Migrations.sol

Contract: Greeter

✓ has been deployed successfully
1 passing (27ms)
Success! This test lets us know we have everything set up correctly and we are ready to begin implementing features.
⚖ Summary
In this Chapter, we have set up our truffle work environment on ChainIDE, and have done our first test. in the next chapter, we will start adding other features to our greeter DApp. I hope you guys learned a lot from this brief tutorial, see you all next time. Cheers 🎉