Table of contents
Hello everyone, today I'm going to write about how you can easily connect and disconnect your metamask account to Nextjs using thirdweb. First thing first, what is thirdweb?
What is thirdweb?
The third web is software that helps developers to build, launch, and manage web3 projects. Thirdweb helps to add NFTs and web3 features for projects. Thirdweb provides smart contracts, SDKs, and UI components that creators, game studios, and developers can integrate into their apps.
Project Setup
Open your terminal/command prompt, and CD to the folder you want to create this nextjs app in, then run
npx create-next-app@latest my-next-app
# or
yarn create next-app my-next-app
to create a nextjs app. Then cd into 'my-next-app' and run
npm run dev
Open localhost:3000 in your preferred browser.
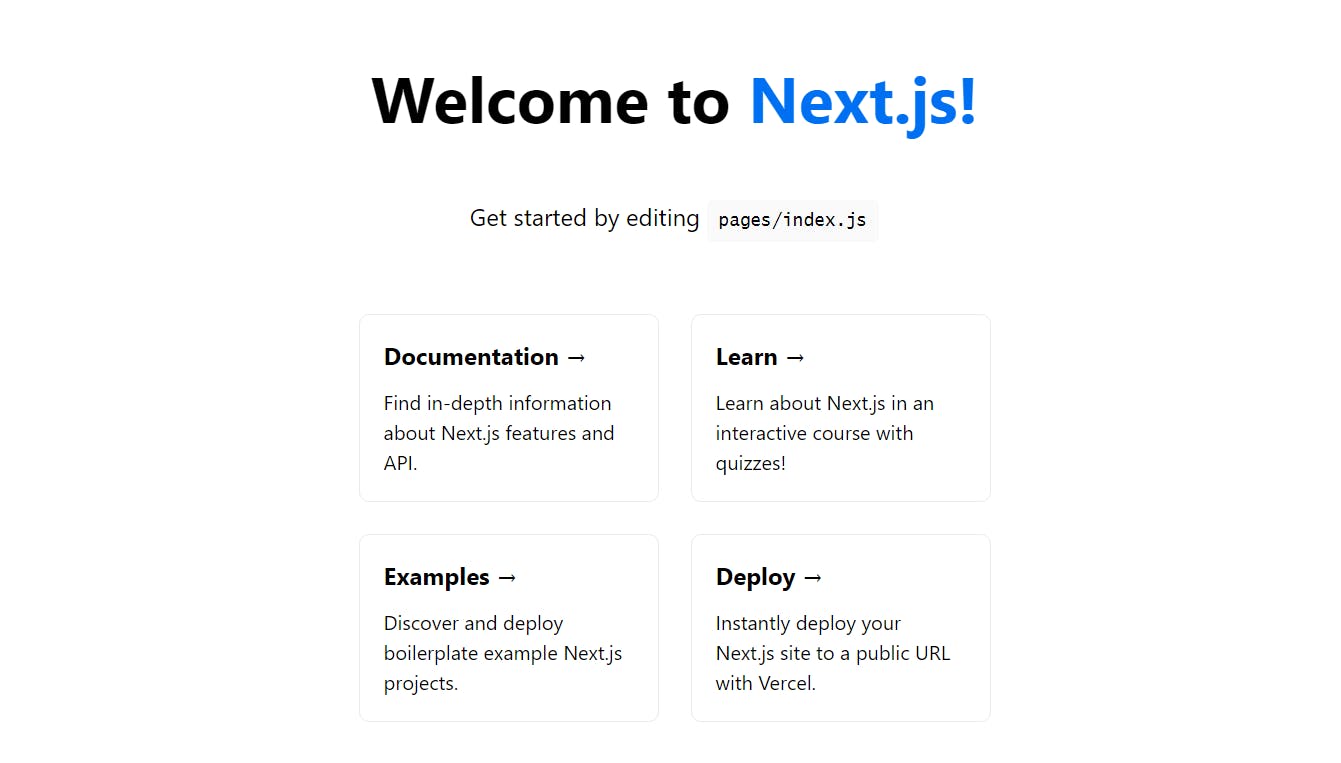
Congrats🎆, you have just created a nextjs app.
Now install thirdweb in your nextjs app by running
npm install @3rdweb/hooks @3rdweb/react
Next, you will have to install metamask in your browser, if you don't have it installed in your browser. Click on this link to learn how to install and use metamask
Project coding
Open this nextjs app you just created in your preferred code editor, go to the pages, and open _app.js
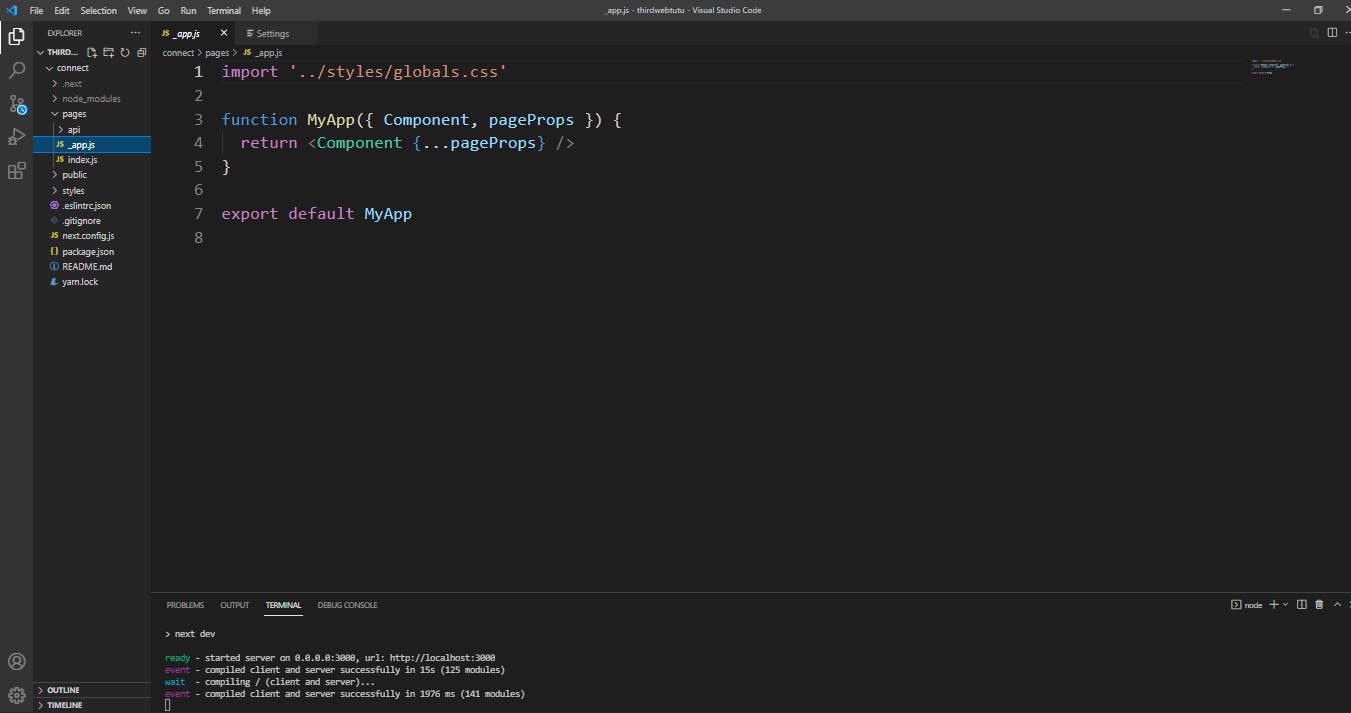
import
import { ThirdwebWeb3Provider } from "@3rdweb/hooks";
Define the chains that your app can support by creating a supportedChainIdconstant like this
const supportedChainIds = [4, 137];
Every chain like polygon(137) or rinkeby(4) has an ID. If you want to add other chains, search for their IDs and add them to the array above.
Next, define the connectors method
const connectors = {
  injected: {},
  magic: {},
  walletconnect: {},
  walletlink: {
    appName: "thirdweb - demo",
    url: "https://thirdweb.com",
    darkMode: false,
  },
};
We will only be using the injected method in this app, so u can just write the connectors like this
const connectors = {
  injected: {},
}
Now 'wrap' the components inside the ThirdwebProvider tags, to ensure our component can make use of the selected chain(s) and wallet(s)
export default function App({ Component, pageProps }) {
  return (
      <ThirdwebWeb3Provider
        connectors={connectors}
        supportedChainIds={supportedChainIds}
      >
        <Component {...pageProps} />
      </ThirdwebWeb3Provider>
  );
}
Congrats once again, you are now done with setting up thirdweb in your nextjs app.
Next, open the index.js file in the pages folder and delete everything in it, let's start from scratch. Import useWeb3 from @3rdweb/hooks
import { useWeb3 } from "@3rdweb/hooks";
And then create
const { address, connectWallet } = useWeb3();
to get the address of the metamask account you are connected to in your nextjs app, and the connectWallet method from useWeb3
Now create a button and a paragraph tag to connect and see the metamask account you are connected to in your nextjs app.
 export default function Home() {
  const { address, connectWallet } = useWeb3();

  return (
    <div style={{ width:"100vw", height:"100vh", justifyContent: "center", display: "flex",
       flexDirection: "column", alignItems: "center"}}>
      {!address &&
        <button onClick={() => connectWallet("injected")}>
          Connect Wallet
        </button>}
        <p>
          {address ? address : "Click on the button above to connect to your metamask accout."}
        </p>
    </div>
  )
}
Run this code, and open it on localhost:3000 in your browser
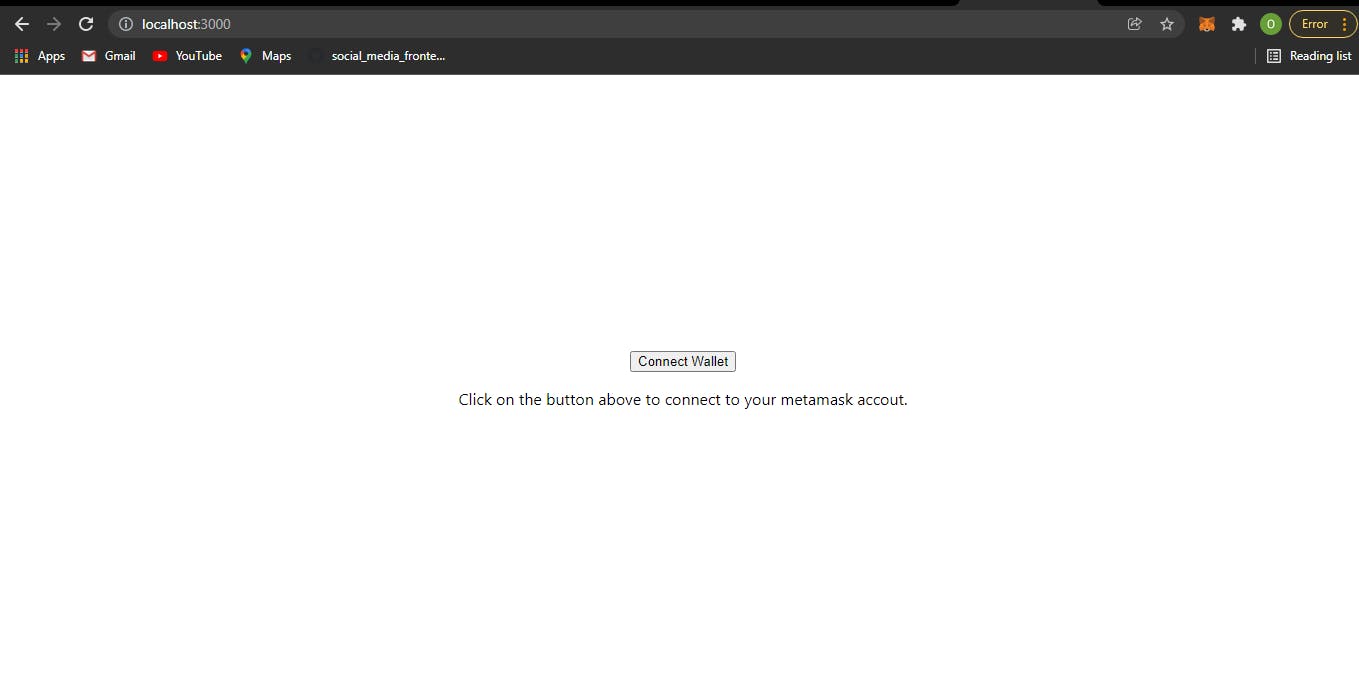
Click the connect wallet button and you will be prompted by metamask to connect your account with the nextjs app.
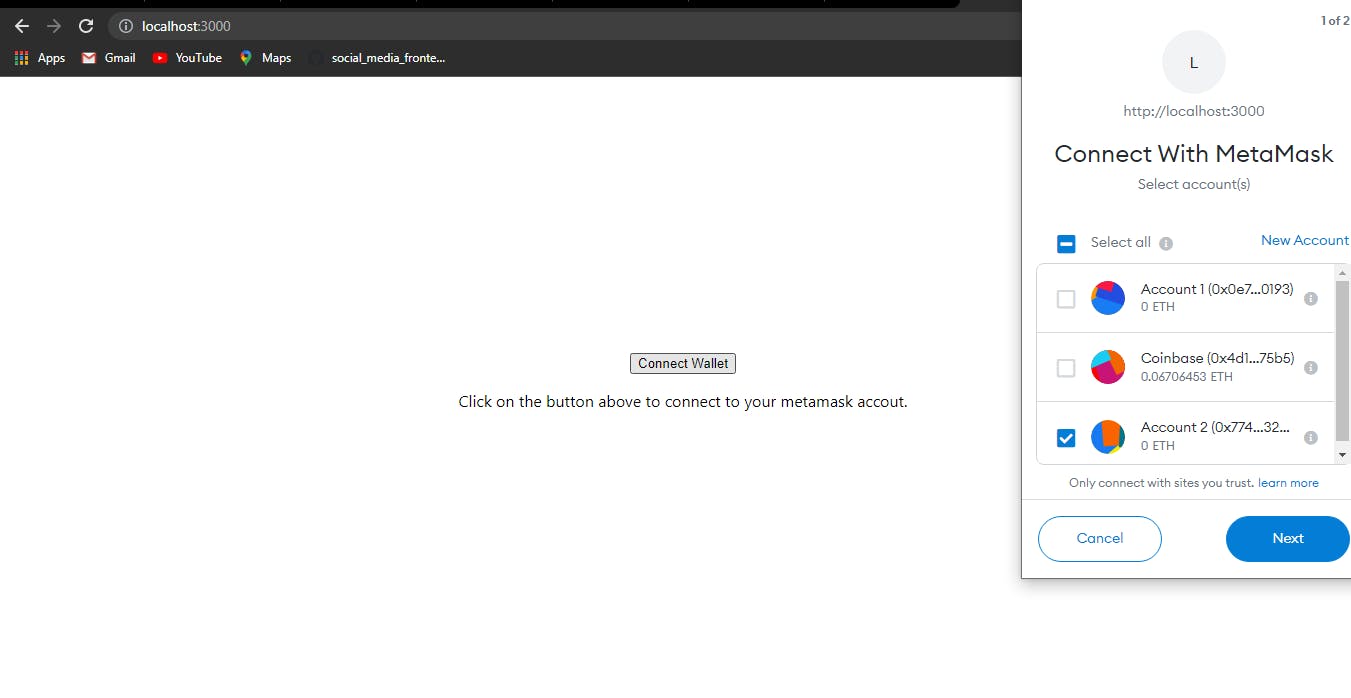
Click Next and then connect.
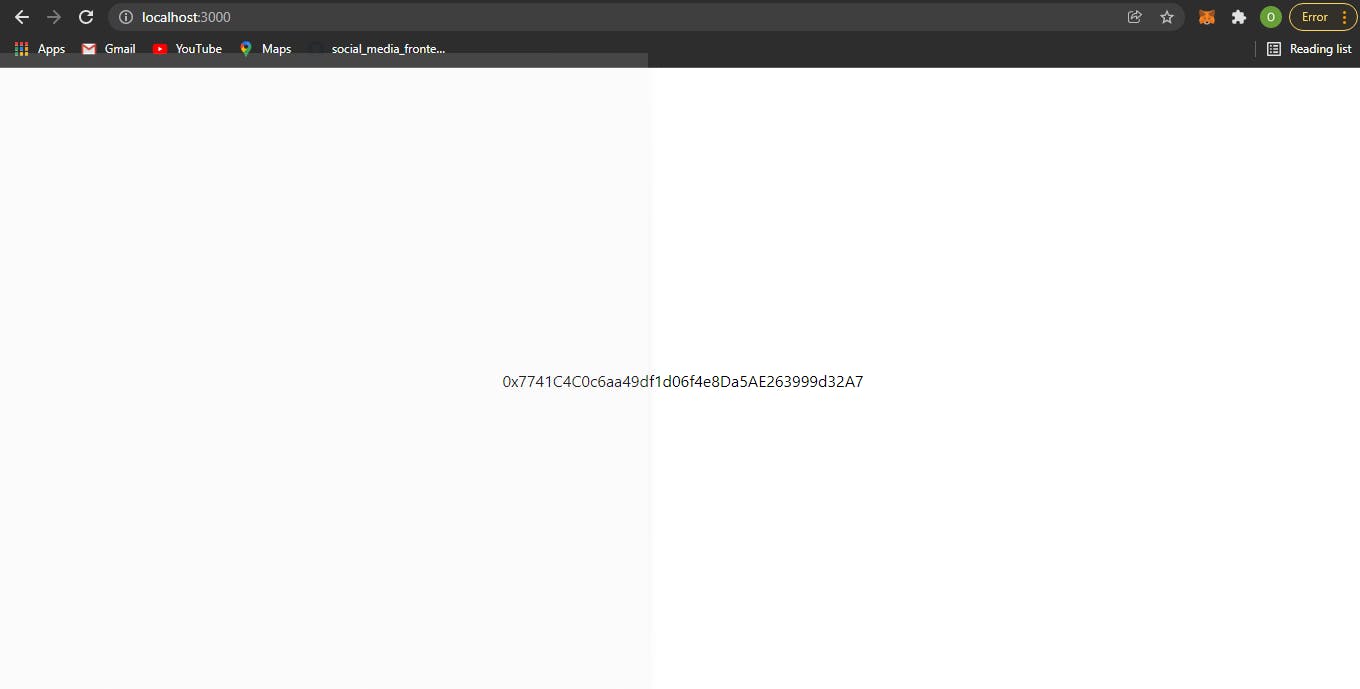
Now, you have connected your nextjs app with your metamask account, and it's displaying the account address you are connected to.
Next, let's add the disconnect button to the app.
import disconnectWallet method from useWeb3
const { address, connectWallet, disconnectWallet } = useWeb3();
Create another button and add an onClick event of disconnectWallet to it
export default function Home() {
  const { address, connectWallet, disconnectWallet } = useWeb3();

  return (
    <div style={{ width:"100vw", height:"100vh", justifyContent: "center", display: "flex",
       flexDirection: "column", alignItems: "center"}}>
      {!address &&
        <button onClick={() => connectWallet("injected")}>
          Connect Wallet
        </button>}
        <p>
          {address ? address : "Click on the button above to connect to your metamask accout."}
        </p>
        {address && <button onClick={() => disconnectWallet()}>
          disconnect Wallet
        </button>}
    </div>
  )
}
Now, we have a disconnect button in our app.
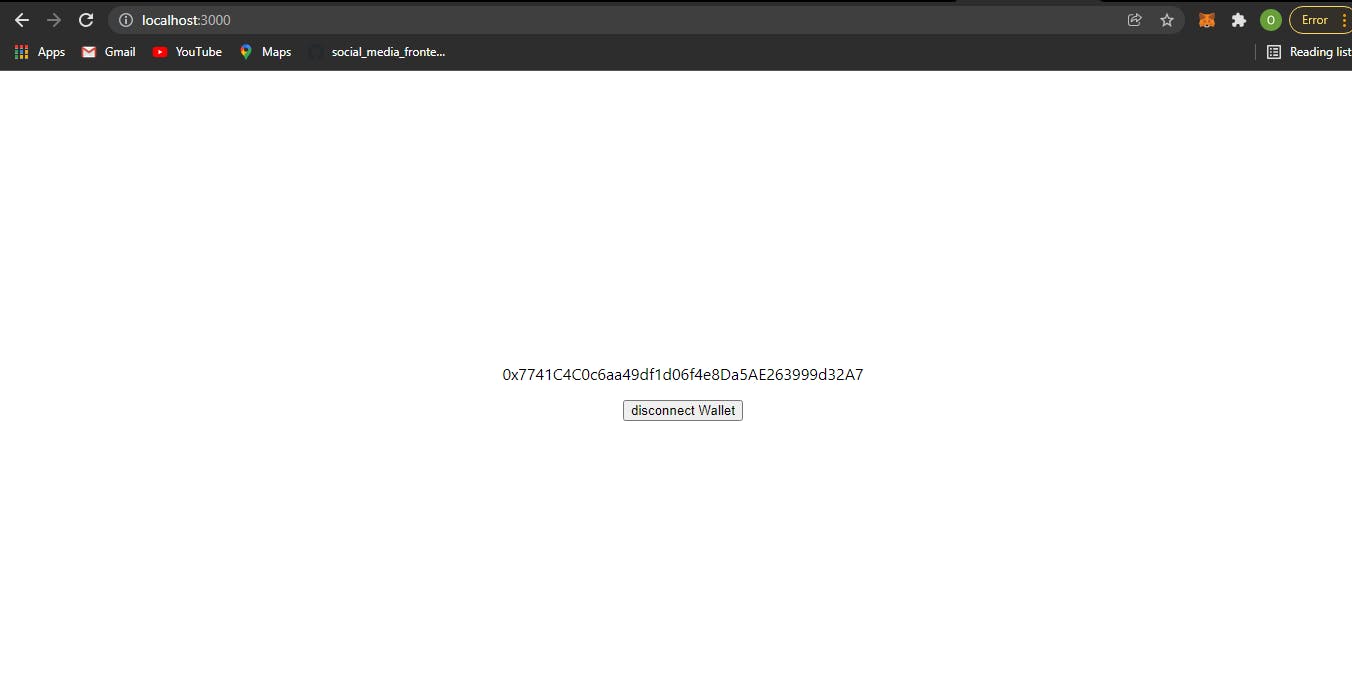
Click on the disconnect wallet button to disconnect the metamask account you are connected to, and connect to another metamask account.
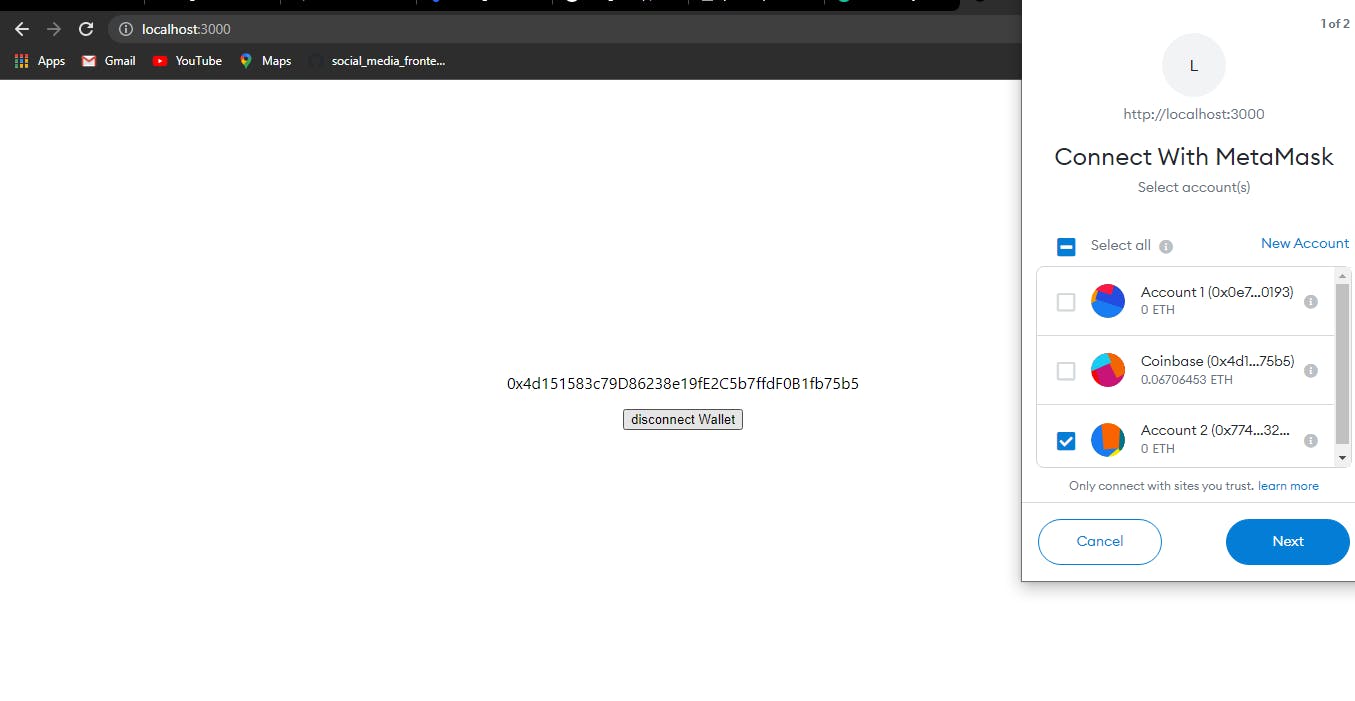
Finally, we are done with this tutorial, I hope you enjoyed it. The code used in this project is in this GitHub repository, in case you want to take a look at it. Don't forget to like and leave a comment.
